Home Mrs. Unger's Unbelievable Elementary Experiences! Meet The Teacher Classroom Tour Contact Me Image Map


Showing posts with label Getting Crafty. Show all posts

Monday, August 24, 2015

Monday Made Its

"It's the most wonderful time of the year!"  Andy Williams may not have been thinking about back-to-school time when he sang his ever popular holiday song, but that's what I think of!  New teacher orientation started last week, returning teachers came back today, Open House is tomorrow, and my firsties come back on September 1st.  Yay!  :)


It looks like there's no Monday Made It linky party this week, but I figure I can still share my goodies with you!  Tara gave us all permission to link our classroom reveals to her (previous) linky party, so I'm hoping to do that next week!


This mess was my assembly area for the goodies that I give to my students at Open House each year.  All the little treats go in those colorful bags on the right (from the Dollar Tree).


Hopefully you can read this explanation sheet.  Each treat inside the bag represents a bigger picture.  For example, "The toothpick is to remind you to pick out the good qualities in your classmates and self."


You may have seen this chair in my last Monday Made It blog post, but I made another change.  The fabric parts were white and even though I flipped them over, you could still see the "Go, Dog, Go" image and words.  A sweet follower of mine suggested using fabric spray paint.  I didn't even know that existed!  Sure enough...found some at JoAnn Fabrics as well as Wal-Mart.  I love how it turned out!


I've had this rolling cart for over a year now, but I did some updating.  It used to be open on the top, but I needed somewhere to set my Mac when we are using the SmartBoard.  So I did some measuring, cutting, and spray painting on some pegboard I had in the garage...and there we go!


I also had these library sticks last year, but again I did some updating.  The number stickers fell off last year, so I put some new (and cuter) number stickers on the sticks AND wrapped some packing tape around the top.  Hopefully that works!


So every.single.time we had indoor recess last year, it was a bit of a headache.  I would write the students' choices on the whiteboard and my kiddos would pick what they wanted to do.  But it was always challenging for my Kinders to read / remember the words on the whiteboard.

Now I am moving to first grade and it may be easier for them to read, BUT I have even more indoor recess choices.  (The sweet and helpful teacher who was in my classroom before me left lots of indoor recess goodies!)  So I came up with a solution (hopefully).  I took pictures of all the choices, then print, cut, and laminated the photos.  Today I attached sticky magnetic tape on the back.  (Yes, that's me working in the car, LOL.)


I have this big, but lightweight oil pan I bought from an auto parts store last year.  During indoor recess, I will take it out of the closet.  All the indoor recess choice cards will be displayed on the oil pan.  After two students pick an activity (two students is my maximum), then that card will be removed from the oil pan.  I hope I am explaining this well enough!  I will be sure to take a picture of the completed project and include it in my classroom reveal.

Anyway, I hope it makes the indoor recess process run more quickly and efficiently.

That's all folks!  Thanks for stopping by!  :)

Monday, August 3, 2015

Monday Made Its in August!

August - It's crunch time, people!  I am officially in panic mode.


I am linking up with Tara at 4th Grade Frolics to share some things that I have been crafting.


This is what my "Pick Me" sticks looked like last year - I used the students' names.


Teacher Tip:  I finally wised up and wrote the names on pieces of clear Scotch tape vs. writing the names directly on the sticks themselves, which was causing me to repaint them each summer.


I was pleased to see that they easily peeled off and the tape did not take the paint off.  Yay!


I made the decision to use a student numbering system in my classroom for the first time ever and I think I am going to love it.  So this time around, I wrote numbers on our "Pick Me" sticks, so I should never have to update them again.


Next up are the magnets for our Homework Club board.


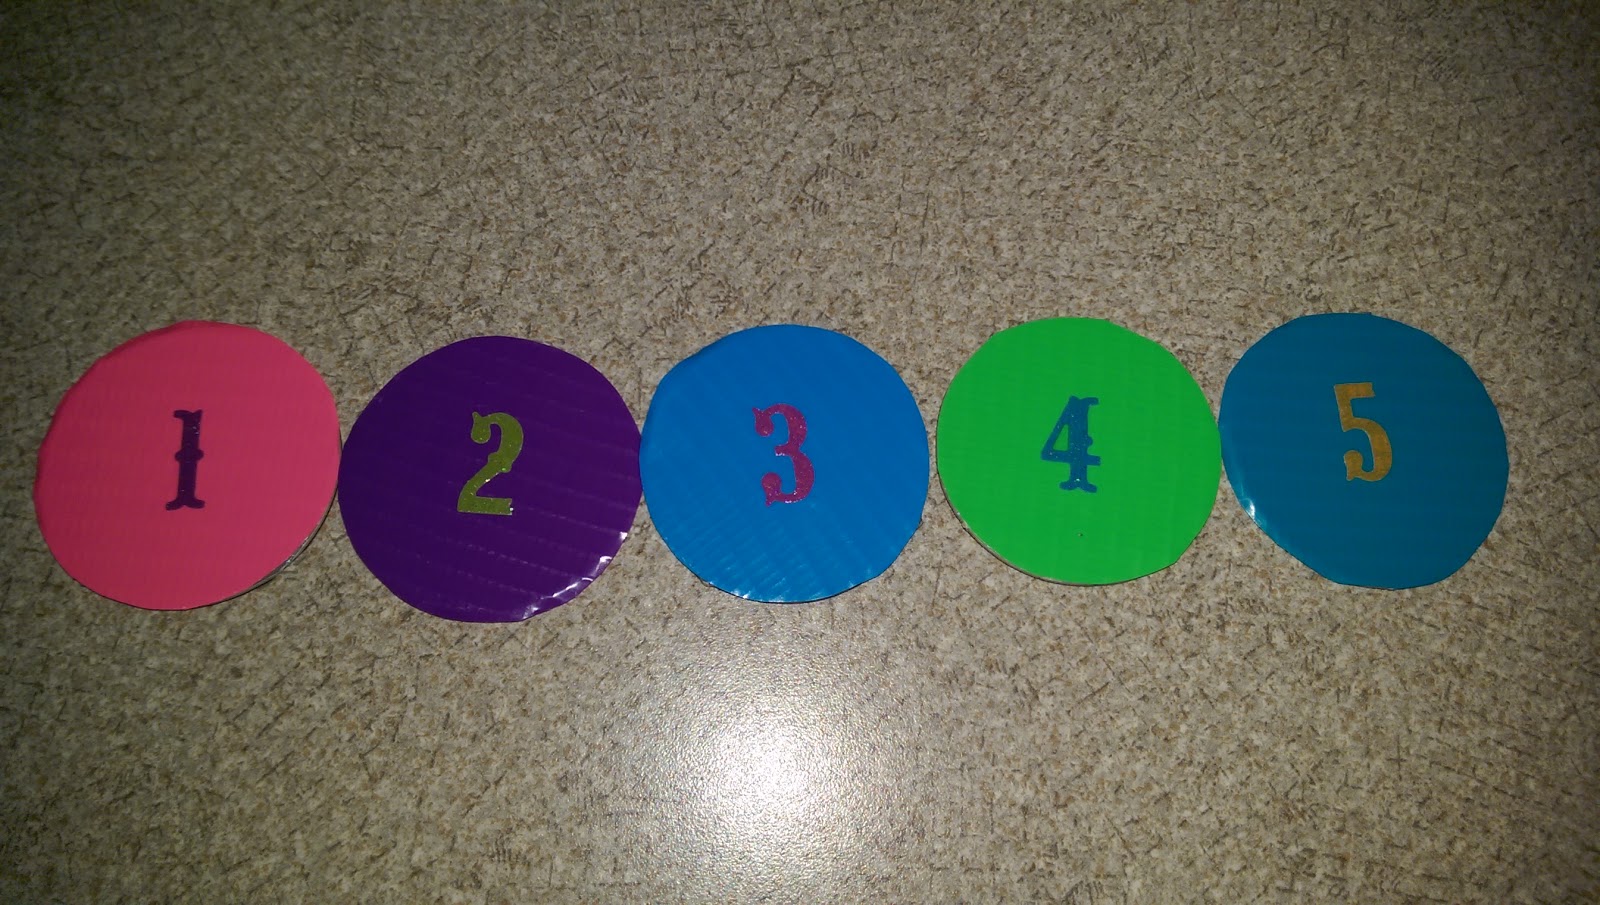
I used some circle magnets (I think I found them in the Target Dollar Spot last summer) and flat colored duct tape.


At first I was tracing the magnets on the colored side of the duct tape, which was leaving black marks after I cut out the circles.  Then I started to do the tracing on the back.  Duh Amber.


I did use one roll of green duct tape and this was more difficult to do (vs. the flat duct tape), but I got 'er done.  I just had to cut around the magnets.


So they looked like this when I was done tracing and cutting.


I found these perfect number stickers at Walmart.


Like I mentioned earlier, I am using student numbers, so I should never have to update these in the future.  Awesome!


This is the final product.  I quite like our Homework Club board!


I bought those pink magnetic borders at a local teacher store and I love them as they really define the space!  I left the bottom part open because I will be hanging superior student work there.


You might have read in one of my earlier blog posts that I attended a Whole Brain Teaching Conference.  I picked up a great tip there:  If you want to announce a really big, important point to your students and you REALLY want to make sure you have everyone's undivided attention, call out "Class / Yes," then "Hands and Eyes" and stand under a big arrow that hangs high on your wall or from your ceiling so you can make your "really big point."  Clever!

I just learned that this idea originally came from Chris Biffle's new book, Whole Brain Teaching: 122 Amazing Games, which is on my wish list.


I found this Kohls Cares "Go Dog Go!" chair a few years ago at a huge children's consignment event for only a few bucks.  I still love it because it is a perfect size for my little ones, but I was not in love with the colors.  So I spray painted it and I am happier!  Buuuut - even though I flipped the fabrics parts around, you can still see the "Go Dog Go!" prints.  Any ideas on how I can hide or change these?  I am on the hunt for a small, cute seat cushion, but I am not so sure I will find one.  Hmmmmm.  Help!?


You may remember these curtains from my previous classroom.  I am SO LUCKY to have the same set-up (shelves under windows) in my new classroom, so I can continue to use these curtains that I worked hard to make last summer!  

However, I was short one curtain, so (with the help of my mom) I whipped up the green and white chevron one last weekend.


My parents gave me my very own brand new sewing machine for my birthday last year.  It was on my wish list, so I was super excited to start making all the cute projects I had pinned on Pinterest.  Well - almost a year later, I finally used it for the first time. Haha!


I bought too much fabric, so I whipped up an extra curtain in case anything happens to any of the others.  But instead of storing it away, I decided to use it as a valance for now.  It is a bit short on the sides, but it is better than an empty, bare window.

That's it!  I hope to squeeze in another Monday Made It next week before the school year begins.  Thanks for stopping by!  :)

Monday, July 20, 2015

Monday Made-It


It actually shocks me that this is the first time (this summer) I am linking up with Tara at 4th Grade Frolics.  Normally summer break is my time to get crafty, but I suppose it makes sense because I am changing school districts...new curriculum to plan for, new classroom to set up, etc.  Baby steps.


I whipped up this take-home books check-out system one night.  I am happy with the way that it turned out, except for the fact that the glue caused the pockets to bubble up a bit.  Oh well!  I decided to number them (vs. writing my students' names), so I don't have to change it each summer.  Previously, as a Kindergarten teacher, I insisted on using the students' names on everything (since they are usually still learning to write and recognize their names).  Going forward as a first grade teacher, I will be using numbers as often as possible to save time and energy!


These clipboards were a project last summer, but...


...I found two more in my garage that I apparently never finished last summer.  So I broke out the spray paint and mod podge again to bring this project to a close.  Just when I thought I was done, I found two more clipboards in my new classroom when I was unpacking boxes.  *sigh*


I found these wooden strips with clips in the Dollar Spot at Target (a.k.a. Teacher Heaven).  I wasn't sure what I was going to use them for, but I bought them anyway.


Then when I was giving them a cutesy touch at home, I came up with a great idea!  I am going to use them to hang my visual cue cards when I am giving directions.  (If you are not sure what I'm talking about, you can check out Teachers Pay Teachers, as many wonderful educators share them for free there.  Alessia Albanese is one example.)


I made a Super Improvers Wall that you can snag for FREE at my Teachers Pay Teachers store.


My scissors, laminator, and I have been seeing a lot of each other this summer.  A huge "Thank you!" goes out to my mom for helping me cut the last of my cardstock yesterday!  Well, the last of it for now anyway.

Alright, now I'm off to go make one of my most favorite dishes, Ensalada de Patatas - a recipe I stole from my host "mom" in Spain, hehe.  :)  Thanks for stopping by!